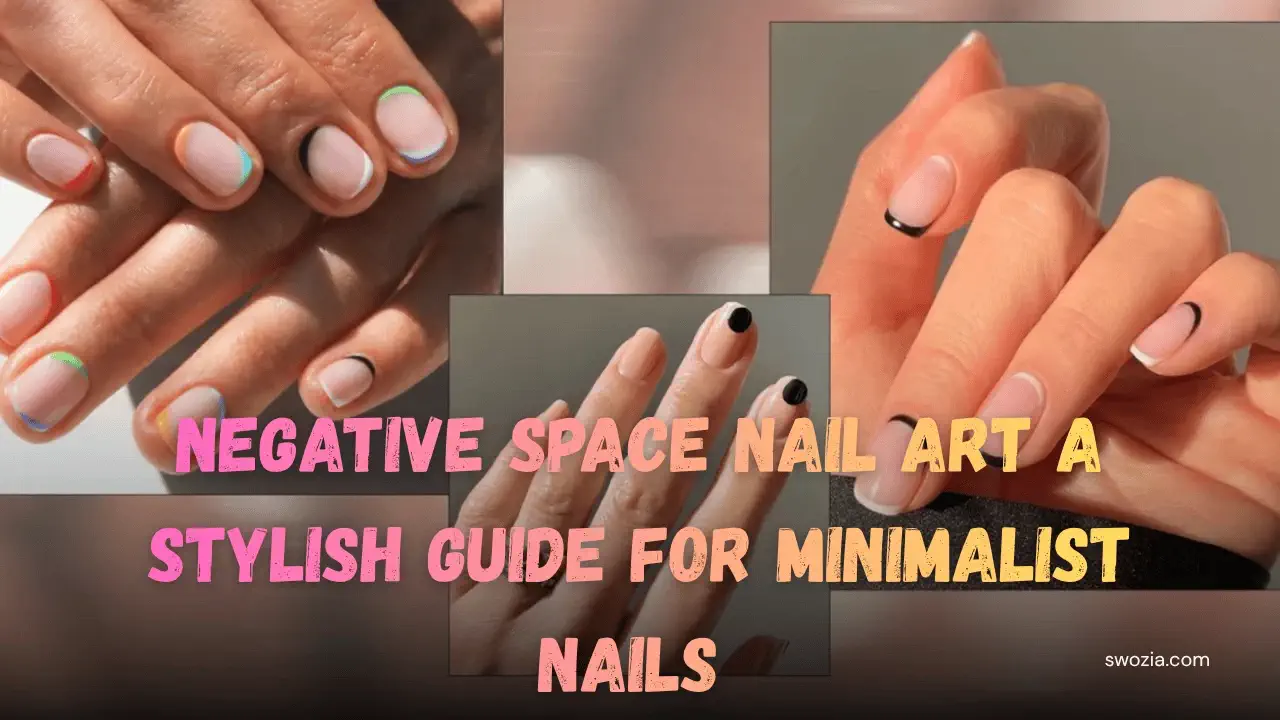
Negative Space Nail Art: A Stylish Guide for Minimalist Nails
If you’re a fan of chic, minimalist manicures, Negative Space Nail Art is the trend you need to try. Instead of covering the entire nail with polish, this style embraces intentional bare areas to create modern, stylish designs that feel fresh, breathable, and effortlessly sophisticated.
From micro-French tips to geometric accents, negative space nails are versatile, beginner-friendly, and perfect for any nail length or shape. Whether you’re doing a quick DIY manicure at home or seeking a sleek salon finish, this look delivers a high-end aesthetic with minimal effort.
What is Negative Space Nail Art?
Negative space nail art is a modern manicure style where parts of your natural nail are intentionally left unpainted to become part of the design. Instead of covering the entire nail with color, this technique uses clear spaces to create contrast, balance, and visual interest. Think of it as the “minimalist fashion” of nail art effortless, clean, and undeniably chic.
This style isn’t about doing less; it’s about doing more with less. The unpainted sections act like blank canvas elements that highlight the shapes, patterns, or colors around them. Whether it’s a sleek cutout French tip, geometric stripes, or a soft curved design that elongates the nail, negative space art feels both high–end and wearable for any occasion.
One of the biggest reasons beauty lovers adore this trend is its versatility. It works beautifully on short nails, long extensions, round, almond, or square shapes there are no rules. Plus, because the natural nail is exposed, regrowth is less noticeable, meaning your manicure looks fresh for longer. It’s minimalist, low–maintenance, and stunningly stylish all at once.
Why Negative Space Nail Art is Perfect for You
If you love manicures that look effortlessly stylish without spending hours (or $$$) at the salon, negative space nail art might just be your new signature style. This trend blends minimalism with creativity, giving you a manicure that’s chic, breathable, and uniquely you. Here’s why it deserves a spot in your beauty routine:
It Looks Fresh for Longer
Because part of your natural nail is exposed, new growth isn’t as obvious. Your manicure keeps its clean, polished look meaning fewer touch-ups and salon visits.
Low-Maintenance, High Impact
Negative space designs don’t require complex patterns to stand out. Even the simplest line or cutout creates a designer-worthy finish that looks like you spent way more time (and money) than you did.
Perfect for Any Nail Length or Shape
Short nails? Long acrylics? Almond, square, or coffin? This style adapts beautifully to all nail types. You can keep it subtle for everyday wear or dial up the drama for special occasions.
Lets Your Natural Nails Breathe (But Stay Stylish)
Full-coverage polish can sometimes feel heavy on the nails. Leaving clean space gives your nails a visual “breather” while still looking glamorous and intentional.
Customizable to Your Personal Style
Whether you’re a minimalist who swears by neutral tones or a trendsetter who loves metallics and bold pops of color, negative space designs can match your vibe. Soft nude curves, sharp geometric shapes, glitter accents there’s a version for every aesthetic.
Salon-Quality Results Even at Home
With just a few tools and a bit of guidance, you can achieve a professional finish from your own vanity. It’s DIY-friendly, beginner-approved, and a great way to express your creativity without perfection pressure.
Essential Tools & Products for Negative Space Nail Art
When you’re creating chic negative space nail art, the right tools make all the difference. Here’s your must-have kit to achieve a clean, salon-worthy finish at home.
Basic Prep & Base Items
- Base coat – A good base gives your nails a smooth surface and helps the polish last longer.
- Top coat – Especially important for negative space looks, as it seals in the design and helps protect the edges of the un-painted “space”. For example, quick-dry top coats are recommended for this style. Skincare.com+1
- Nail file, buffer & cuticle tool – Start with clean, shaped nails. A well-prepped surface ensures the negative space detail looks crisp and runs smoothly.
- Nail cleanser / remover – Before you begin your design, clean your nails thoroughly so that the polish adheres properly and you avoid smudging in the blank/negative areas.
Design & Precision Tools
- Stripping tape or nail vinyls – These are essential for creating sharp edges, lines or geometric shapes in negative space manicures. For example, one tutorial used striping tape to mask off parts of the nail so the design could be applied cleanly. Depend Cosmetic+1
- Fine liner brush or nail art brush – For drawing precise lines, curves or cut-out shapes. Especially helpful if you’re doing freehand negative space details.
- Dotting tool / silicone sculpting pen / sculpt-brush – If you want to add little accents (dots, arcs, minimal shapes) into your negative space design, these tools help.
- Tweezers – Useful for placing tape/vinyls, or removing them cleanly once polish is applied so you keep the negative space crisp.
- Nail gel or polish with a precision tip / fine brush – A polish with a small brush or pen format gives more control when painting around the exposed parts of the nail.
Colour & Style Products
- Neutral & clear polish shades – For the un-painted part, often the natural nail shows through, so a sheer or nude base can look great.
- Bold accent colour or metallic polish – Use on the painted part of the design to contrast with the exposed “negative” area. As one site recommends: apply colour, use masking, then remove to reveal the negative space.
- Gel paints or ultra-fine art gels – If you use gel polish, you might opt for super-pigmented gel paints designed for art detail. For example, one brand calls out a gel paint “for creating abstract designs, outline your masterpieces or get creative with negative space”.
- Optional: Decals, gems, metallic foils – To elevate your negative space look, you can add small decorative elements, but keep them minimal so the “negative space” effect remains the star.
At-Home Kit Example (for Inspiration)
- Stripping tape set (various widths)
- Fine liner nail art brush
- Dotting tool
- Clear/nude base polish
- Bold colour polish (e.g., black, metallic silver)
- Top coat (quick-dry)
- Nail vinyls for shapes (triangles, half-moons)
- Optional: small gems or foil accents
Pro Tip: Clean Lines Matter
Negative space nail art is all about the contrast between painted areas and the exposed nail. If the edges are fuzzy, the effect loses its impact. So:
- Make sure your masking (tape/vinyl) is firmly pressed down along the edges before painting.
- Use thin, even coats of polish so there’s less mess.
- Carefully remove the tape/vinyl while the final coat is still slightly tacky (if your product allows) for a sharper edge.
- Finish with a top coat right away to lock in the design and protect those exposed edges.
Step-by-Step Tutorial: Create Your First Negative Space Nail Art
Ready to try your first negative space manicure? Follow this simple, fail-proof tutorial designed for beginners. You’ll learn how to create a clean, minimalist look that shows off the beauty of your natural nails while still looking trendy and intentional.
Step 1: Prep & Shape Your Nails
A flawless negative space design starts with a clean canvas.
- Remove old polish and wash your hands.
- Shape your nails using a file square, round, almond, or your preferred shape.
- Gently push back cuticles for a neat, elongated nail bed look.
- Buff lightly to smooth the nail surface and help polish adhere better.
- Swipe nails with nail cleanser or remover to eliminate oils.
Step 2: Apply a Protective Base Coat
Brush on a thin, even base coat and let it dry.
This prevents staining, strengthens your nails, and ensures a crisp finish where the natural nail remains exposed.
Step 3: Map Out Your Negative Space Design
Decide which part of the nail you want to leave unpainted. Some beginner-friendly layouts:
- Diagonal stripe across the center
- Half-moon at the cuticle
- Vertical line on one side
- Thin French-style tip cut-out
Use striping tape, nail vinyls, or regular tape to block off the area that you want to keep polish-free.
Step 4: Paint Your Design
- Apply your chosen polish color around the taped-off area.
- Use thin coats this reduces smudging and gives a cleaner edge.
- Wait 60–90 seconds between layers (or cure if using gel).
- Once you’re happy with the opacity, carefully peel off the tape while the polish is still slightly tacky not fully dry.
Step 5: Add Optional Art Details
Want to elevate your design?
- Add a dot or metallic accent along the border of the negative space
- Outline the clear area with a fine brush for extra definition
- Mix two colors for a modern, split-design effect
Keep extras minimal so the “negative space” remains the star of the look.
Step 6: Seal and Shine
Finish with a glossy or matte top coat to:
Protect the exposed nail area
Prevent chipping
Smooth any uneven layers
Seal the edges (the free tip of your nail) to prolong wear.
Step 7: Clean Up for a Salon-Perfect Result
Dip a fine brush or cotton swab in remover and clean around the cuticles or edges.
This tiny step transforms your DIY mani into a polished, professional-looking set.
Expert Tips for Flawless Negative Space Nails
Negative space nail art may look effortless, but the secret to that crisp, editorial finish lies in the details. These expert-approved tips will help you avoid streaks, smudges, and messy edges so your manicure looks like it came straight from a pro nail studio.
Less Polish = Cleaner Lines
Apply thin, controlled layers of polish especially around the negative space area. Thick coats tend to bleed, blur edges, and lift when you remove the tape or vinyls.
Remove Tape at the Right Time
Timing is everything. Peel off tape or vinyls before the polish is fully dry ideally when it’s slightly tacky. This prevents cracking or jagged edges.
Use a Detail Brush for Perfect Edges
A fine liner brush dipped in a little nail polish remover (or acetone for gel) can clean up imperfections instantly. It’s the easiest way to sharpen lines and perfect your negative space shapes.
Choose Shades That Contrast With Your Nail Tone
Negative space designs pop best when there’s a noticeable contrast. Neutral nails with bold color blocking are a classic, but you can also try:
- Black + Nude
- Gold Metallic + Clear
- Pastel + Bare Nail
- White + Natural Pink
Top Coat Technique Matters
Don’t skip the top coat it’s your seal of perfection. Apply in one smooth stroke, floating the brush over the design to avoid dragging color into the negative space.
Seal the free edge to prevent early chipping.
Keep the Natural Nail Healthy and Smooth
Because part of your nail remains exposed, its health and texture matter more than usual.
- Moisturize cuticles daily
- Buff lightly (don’t over-buff)
- Use a strengthening base if your nails are prone to peeling
Healthy nails = prettier negative space.
Experiment With Sheer Bases
If a fully bare nail isn’t your style, try a sheer or milky base coat. It still gives the “negative space” effect, but with a soft, polished finish great for first-timers or anyone who prefers low-contrast designs.
Practice on Press-On Nails First
If you’re nervous about trying detailed shapes on your own nails, practice on press-ons or nail swatches first. Once you master the tape placement and polish control, you’ll be unstoppable.
Less Is More Don’t Overcrowd Your Design
The beauty of negative space lies in simplicity. Choose one or two focal shapes. Overloading with patterns or colors can make the nail look busy instead of chic.
Trending Negative Space Nail Art Ideas for 2025
Minimalist beauty is evolving, and negative space nails are at the center of the movement. In 2025, the trend is all about clean lines, soft contrasts, and modern artistic accents that let your natural nails shine. Whether you love subtle elegance or bold geometric designs, these on-trend ideas will elevate your next manicure.
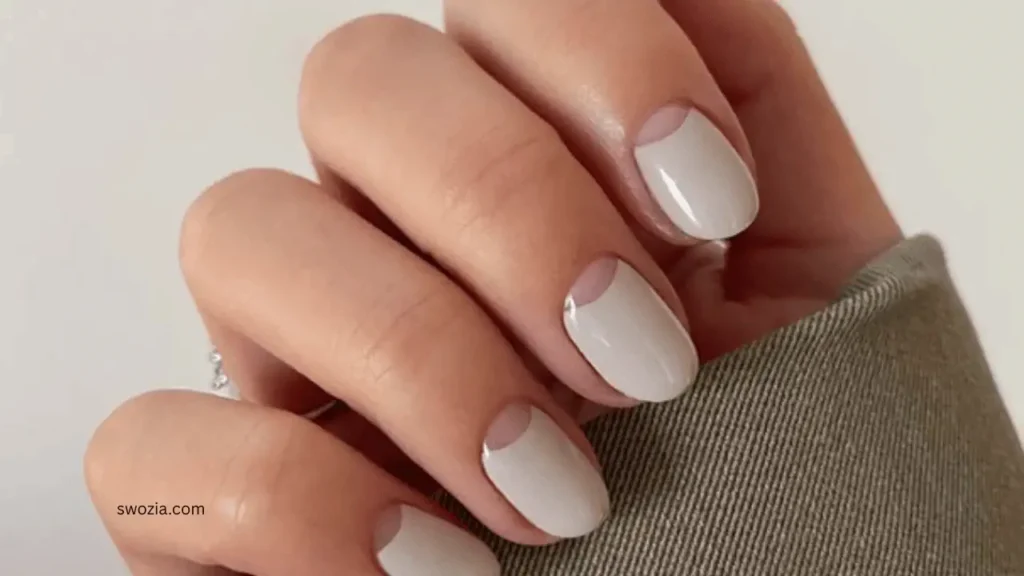
1. Modern Micro-French Cutouts
A fresh twist on the classic French manicure.
Instead of a full tip, only a fine micro line outlines the nail edge, leaving the center natural. It’s chic, delicate, and perfect for everyday wear.
Best for: Short & medium nails, minimalist lovers.
2. Abstract Curved Waves
Soft, fluid wave shapes sweep across the nail, creating a dreamy negative space effect. Choose neutral tones for a subtle look or vibrant colors for an artsy vibe.
Why it’s trending: The “soft curves” aesthetic continues to dominate fashion and beauty in 2025.
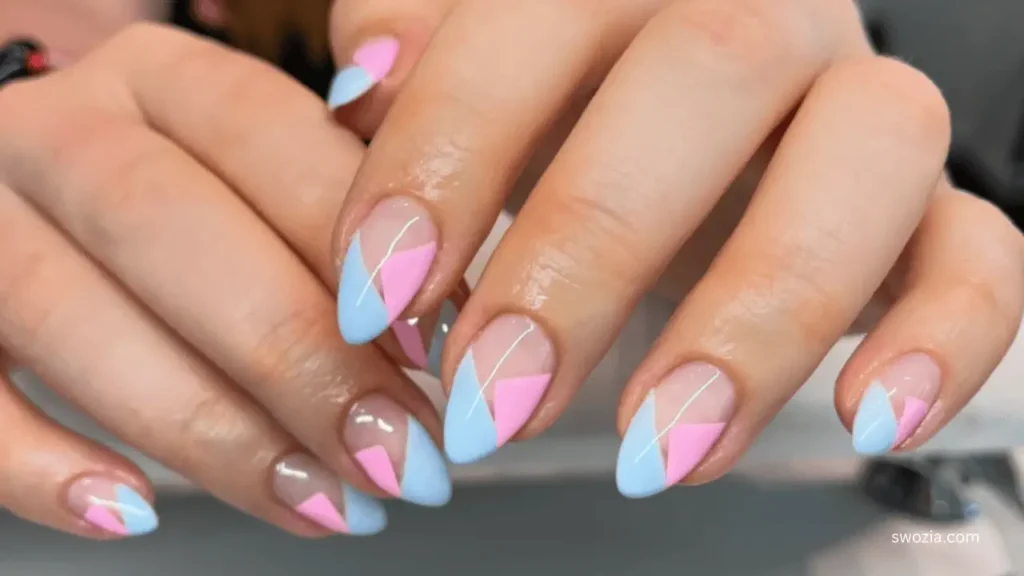
3. Geometric Lines & Shapes
Clean architectural lines, triangles, angles, and split-nail designs offer a sleek, high-fashion look. Combine matte and glossy textures to add dimension without extra color.
Pro Style Tip: Use contrasting finishes to define shapes more clearly.
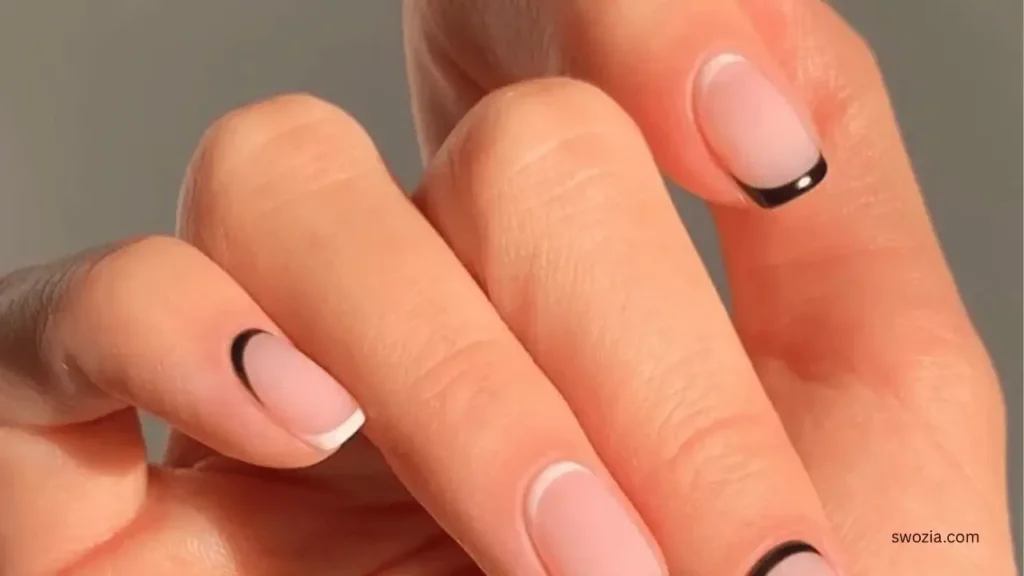
4. Metallic Edge Detailing
Metallic silver, chrome, or gold lining the edges of the negative space adds a luxe finish. Think of it as jewelry for your nails minimal body, maximum impact.
Try it for: Evenings out, events, or a polished glam finish.
5. Half-Moon Cuticle Art
This timeless style remains a top favorite. The cuticle area is left bare while the rest of the nail carries a subtle color or sheer tint. It elongates the nail and feels effortlessly elegant.
Nice Twist for 2025: Use sheer latte, milky white, or dusty rose polish instead of opaque hues.
6. Negative Space Checkerboard
The classic checkered nail gets a minimalist makeover. Alternate filled and empty squares to create a bold yet wearable pattern.
Choose it if you like: Trendy, playful, street-style inspired nails.
7. Gloss vs. Matte Contrast Nails
No extra colors needed play with textures. A glossy negative space shape over a matte base (or vice versa) looks modern, clean, and runway-ready.
Great for: Anyone who loves the “quiet luxury” aesthetic.
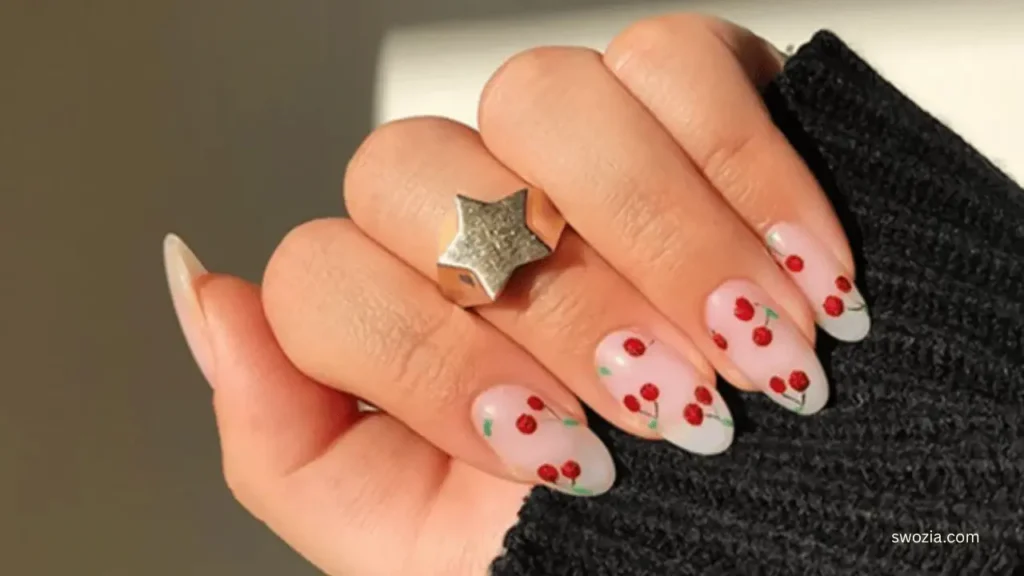
8. Pop-of-Color Accents
Most of the nail stays natural, with just one bold streak, dot, or shape in a bright color such as cobalt, neon lime, or cherry red.
Hot in 2025: Blue tones inspired by digital fashion and Y2K revival.
9. Minimalist Dot & Line Art
A single dot, short line, or tiny color accent transforms a bare nail into a chic statement. It’s the easiest negative space style for beginners that still feels editorial.
Perfect for: First-timers or a quick DIY manicure.
10. Layered Sheer Shades
Soft, transparent colors layered over negative space shapes give a “barely there but stunning” finish. Creates depth while keeping the design natural and breathable.
Trending Shades: Milky beige, blush pink, latte, and soft grey.
How to Make Your Negative Space Nail Art Last Longer
One of the best parts about negative space nail art is how long it stays looking fresh but only if you care for it correctly. With the right prep, application techniques, and aftercare, you can enjoy chip-free, salon-quality nails for 10–14 days or more. Here’s how to maximize the longevity of your manicure.
Prep Like a Pro
Long-lasting nails start before you apply polish.
- Remove oils completely using alcohol or nail cleanser polish won’t stick to oily surfaces.
- Buff lightly, but don’t over-file, as that can weaken the nail.
- Ensure nails are 100% dry before applying your base coat.
Use a Sticky Base Coat
Choose a bonding or “grip” base coat that adheres to the natural nail. It gives polish something to hold onto and prevents early peeling especially important since part of your nail remains bare.
Cap the Free Edge Every Time
When applying base coat, polish, and top coat, seal the tips of your nails with a light swipe across the edge. This prevents lifting, cracking, and tip wear.
Go for Thin, Even Layers
Thick polish layers lift faster. Apply two to three thin coats, letting each layer dry fully (or cure if using gel). This also prevents polish bleeding into the negative space.
Choose Long-Wear or Gel Polish
If longevity is your priority, opt for:
- Long-wear nail polish (7–12 days)
- Gel polish (2+ weeks)
Gel is especially ideal for negative space designs because it creates crisp lines and resists chipping.
Top Coat Maintenance = Extra Days of Wear
Reapply a top coat every 2–3 days to refresh shine and strengthen the design. This quick step protects the exposed negative space areas and keeps the manicure looking newly done.
Avoid Excessive Heat & Water Right After Application
For the first few hours:
- Skip hot showers
- Avoid washing dishes
- Don’t apply lotion or cuticle oil too soon
Heat and moisture can soften polish and cause smudging or lifting.
Don’t Skip Cuticle Oil Just Time It Right
Apply cuticle oil daily but wait at least 4–6 hours after doing your nails. Hydrated nails are flexible nails, which reduces breakage and peeling.
Wear Gloves for Daily Chores
Water, cleaning chemicals, and heat are manicure enemies. Protect your nails with gloves when washing dishes, cleaning, gardening, or doing anything hands-on.
Fix Minor Chips Fast
A small chip? Don’t ignore it. Smooth the area, add a dot of polish, and re-apply top coat. Quick repairs prevent the damage from spreading.
Negative Space Nail Art: DIY vs. Salon
When it comes to negative space nail art, you have two great options: create it yourself at home or let a professional nail tech work their magic. Each approach has its perks your choice depends on your skill level, budget, time, and desired finish. Here’s a clear breakdown to help you decide which route is right for your next manicure.
DIY Negative Space Nails
Perfect for: Creative beginners, budget-friendly beauty lovers, and anyone who enjoys at-home self-care sessions.
Why You’ll Love DIY:
- Cost-Effective: Once you invest in a few basic tools, each manicure costs just a few dollars.
- Flexible & Fast: Do your nails anytime no appointments or salon waitlists.
- Creative Freedom: Experiment with new styles, colors, and shapes at your own pace.
Potential Downsides:
- Learning Curve: Crisp lines and symmetry may take practice.
- Limited Tools: Unless you invest in brushes, tapes, and gel kits, designs may look simpler than salon-level sets.
Best For: Minimalist designs, simple shapes, and practice-friendly looks like diagonal lines, micro-French, or dot art.
Salon Negative Space Nails
Perfect for: Special occasions, intricate designs, and long-lasting professional results.
Why You’ll Love the Salon Experience:
- Expert Precision: Pros achieve sharp lines, detailed geometry, and advanced patterns with ease.
- Longer Wear: Salon gel or builder gel sets can last 2–4 weeks with minimal chips.
- Customization: Nail artists can tailor designs to your nail shape, skin tone, and personal style.
Potential Downsides:
- Higher Cost: Expect to spend more especially for detailed or hand-painted art.
- Time Commitment: Appointments can take 60–120 minutes, plus booking ahead.
Best For: Weddings, events, photo shoots, holidays, or luxury statement looks with chrome, textures, or mixed media.
Quick Comparison
| Criteria | DIY | Salon |
|---|---|---|
| Cost | $ | $$–$$$ |
| Skill Needed | Beginner–Intermediate | No skill needed |
| Time | 20–60 mins | 60–120 mins |
| Design Complexity | Simple–Moderate | Moderate–Advanced |
| Longevity | 5–14 days | 2–4 weeks |
Conclusion
Negative space nail art proves that sometimes, less really is more. It’s the perfect blend of elegance, creativity, and low-maintenance beauty ideal for anyone who wants a manicure that feels modern, stylish, and effortlessly chic. From simple micro-French lines to bold geometric accents, this trend adapts to your personality, nail shape, and lifestyle.
Whether you choose to DIY for a fun self-care moment or visit a salon for a stunning professional finish, negative space nails offer endless design possibilities without overwhelming your natural nail. With the right tools, techniques, and care, your minimalist mani can stay flawless, glossy, and photo-ready for days or even weeks.
Now that you’re equipped with tips, tutorials, and 2025 trend inspiration, it’s time to try it for yourself. Explore a few designs, experiment with colors and shapes, and share your favorite looks your nails are officially your newest form of self-expression.
For more about Nail Art Design Ideas please visit swozia.com.
FAQs
How long does negative space nail art usually last?
With proper prep and aftercare, negative space nail art can last 7–14 days with regular polish and up to 3–4 weeks with gel. Using a high-quality base coat, sealing the tips, and applying top coat every few days can significantly extend wear.
Is negative space nail art suitable for short nails?
Absolutely negative space designs look stunning on all nail lengths, including short nails. In fact, minimalist lines and curved shapes can make short nails appear longer and more elegant without the need for extensions.
Can I create negative space nail art without special tools?
Yes! While striping tape and detail brushes make the process easier, beginners can start with household items like regular tape, toothpicks, or cotton swabs to create clean shapes. A good base coat, nail polish, and top coat are enough to start experimenting.
Does negative space nail art damage the natural nail?
No when done correctly, it’s actually gentler than full-coverage manicures. Because part of your nail remains bare, it allows your natural nail to “breathe” visually. Just be sure to use a nourishing base coat and avoid over-buffing to maintain nail health.